Okay, so I don’t often do product endorsements on this blog.
But I love books.
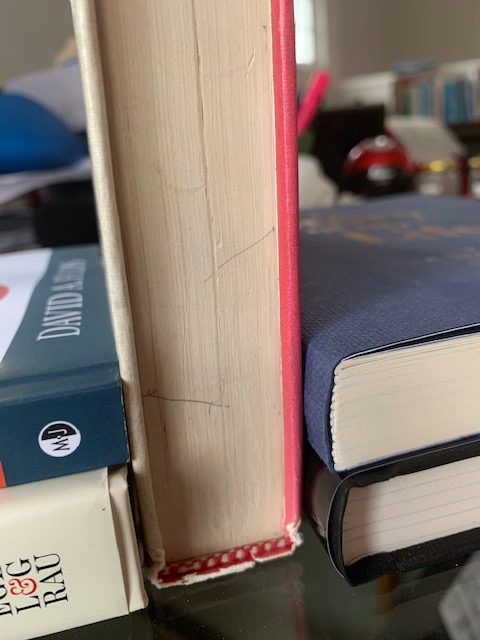
I own old books.
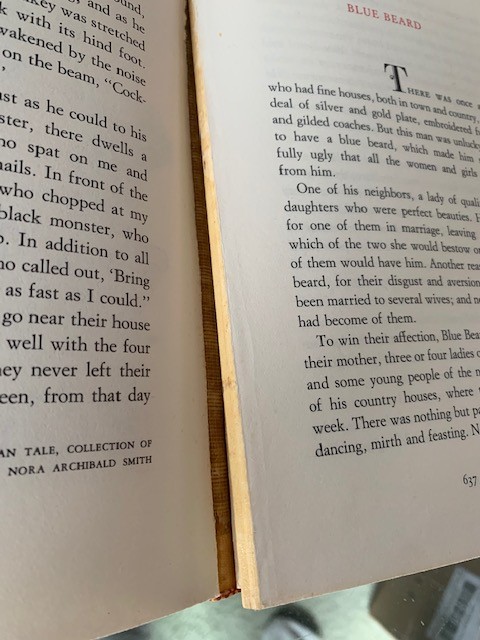
Old books break.
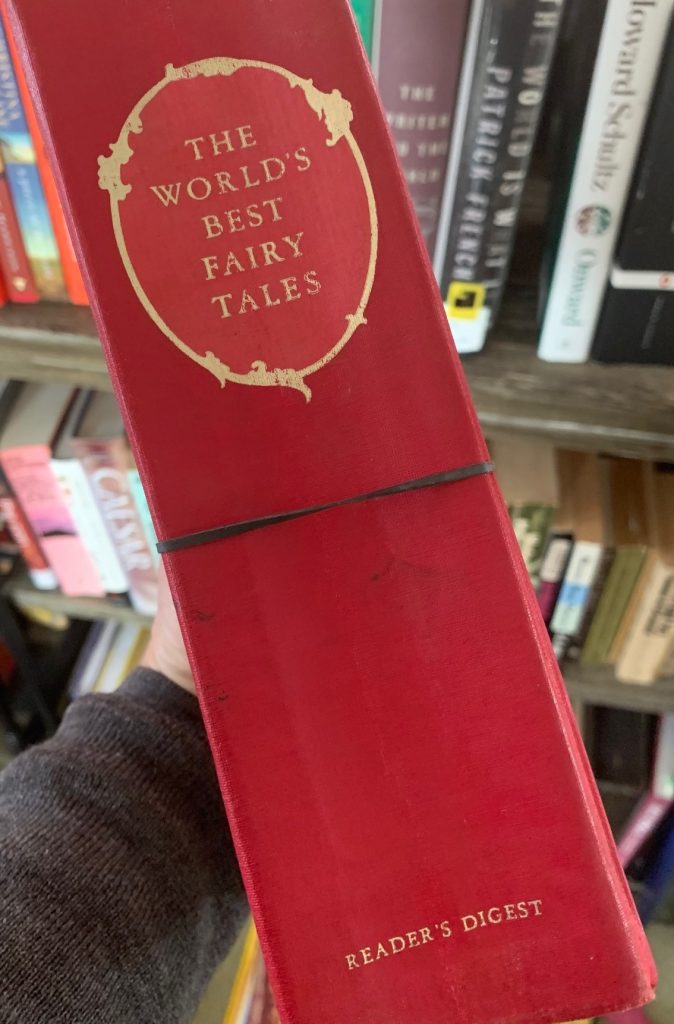
Like this book. It’s The World’s Best Fairy Tales, a Reader’s Digest book my grandparents gave me in 1968. And OMG how I loved this book! I must have read every story in it a million times. (I also used to make Grandma read to me out of it — makes me laugh now thinking of it — I wonder if she ever regretted gifting it, maybe? A teensy bit? Because of course I used to request the longest story in the book, Sinbad the Sailor. I think it’s 50 or 75 pages :D)
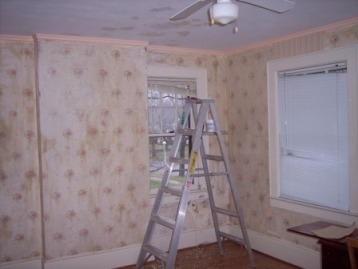
Anyway, today I pulled the book out and GAH.
The original glue had become completely dry and brittle. I no sooner touched the thing and chunks of pages started to fall out.
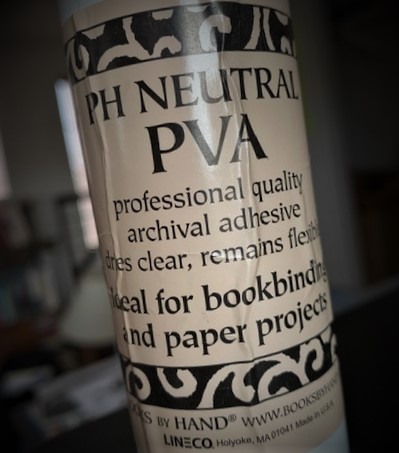
Fortunately, I have a fix. This stuff –>
Its an adhesive that is flexible when it dries. So when you open the book the spine can flex like it’s supposed to.
How to fix a broken book in 6 easy steps
Step 1, open the book to the spot where the pages are starting to fall out.
I try to be super careful while I’m doing this so that I don’t break the book even more. Because the last thing I want to have to do is glue the pages back in one at a time =o
But usually what happens is what you see here: chunks of pages falling out …
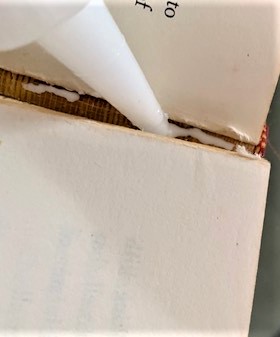
Step 2: Run a little bead of the adhesive down the inside of the spine.
I try to be careful here, too. I figure, too much adhesive and it might leak into the pages.
The trick is to move the tip of the bottle kind of swiftly and smoothly so that the bed is thin and light.
First time? Practice first! Lay a bead down on a piece of paper, before you start on the book, so that you get a feel for how fast you should go to keep the line of adhesive thin & light.
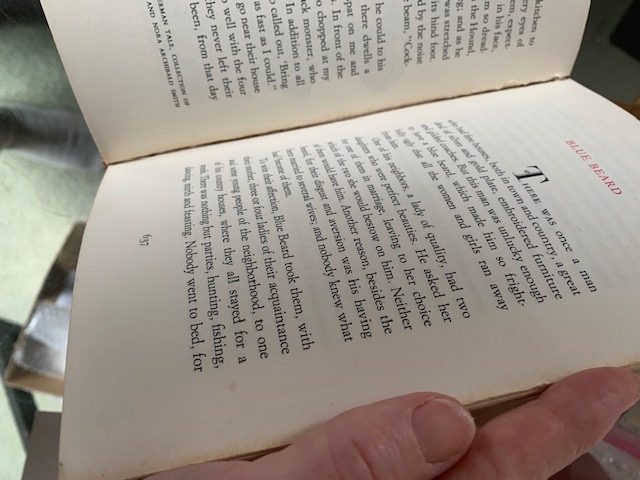
Step 3: Press the pages back into place.
So far, every time I’ve done this, I’ve been dealing with chunks of pages. So it’s kind of easy to just press and tap the pages as a chunk.
Step 4: Check to make sure the pages are nice and flush. You want to make sure that the adhesive is adhering to both the spine and the pages :)
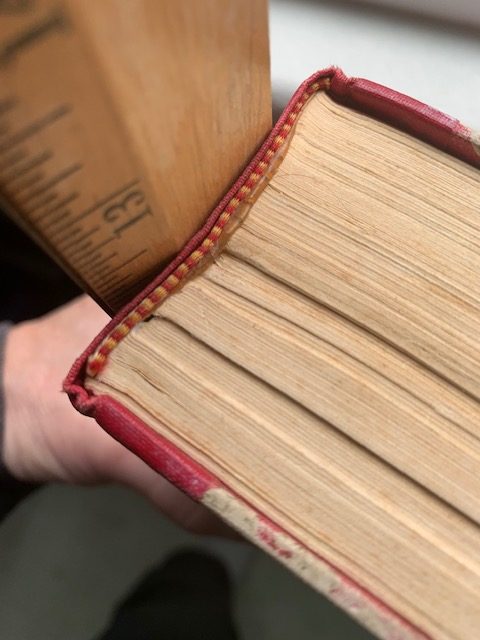
Step 5: Rig something to keep the pages flush against the spine while the adhesive dries.
For some of the books I’ve fixed this way, I’ve just set the book on a table, spine down (propped by other books to keep it from tipping over while the adhesive dries). When I fixed my old Roget’s Thesaurus, that’s what I did. The weight of the book was enough to keep the pages pressed against the spin until the glue was dry.
But for my Fairy Tale book, I got a little creative. It’s a thick book — 2 and 1/2 inches! — so the spine tends to curve inward slightly.
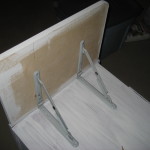
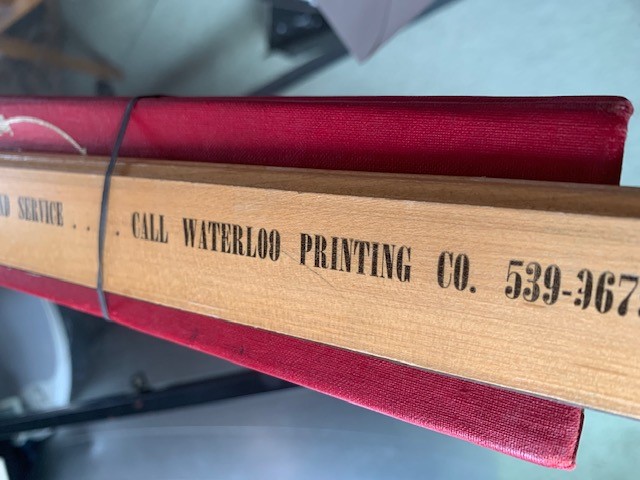
So I used a rubber band to strap a wooden ruler against the spine.

It just happened that one side of my ruler is kind of convex, so it worked perfectly. It snugged right up against the spine.
Step 6. Wait for a day or so until the adhesive dries. And that’s it!
Would I try this on a valuable book? Probably not. I’d probably take that sort of book to a professional to be restored. (And yeah, I see that in some cases people are asking for a lot of money for World’s Best Fairy Tales. But you can also find copies for cheap. So yes, I recommend you pick up a copy if you’re a fan, but maybe don’t spend $80 for it.)
But for old books that I just want to be able to handle again, this stuff is fabulous. I’ve fixed the dictionary I’ve had since I was a kid, I’ve fixed this old Roget’s thesaurus that I absolutely adore (sooo much better than online thesauruses. Really.)
And now I’m fixing my beloved Fairy Tale collection :)
Have you ever tried to glue a broken book?
Did it work?
Did you use PVA?
Drop me a note or leave a comment!
P.S. this post includes affiliate links. If you click and buy I get a few pennies — no extra cost to you. But I promise you, you will be soooo glad you have a bottle of this stuff on hand. Thank you!