Fixing broken (book) backs

worlds best fairy tales readers digest
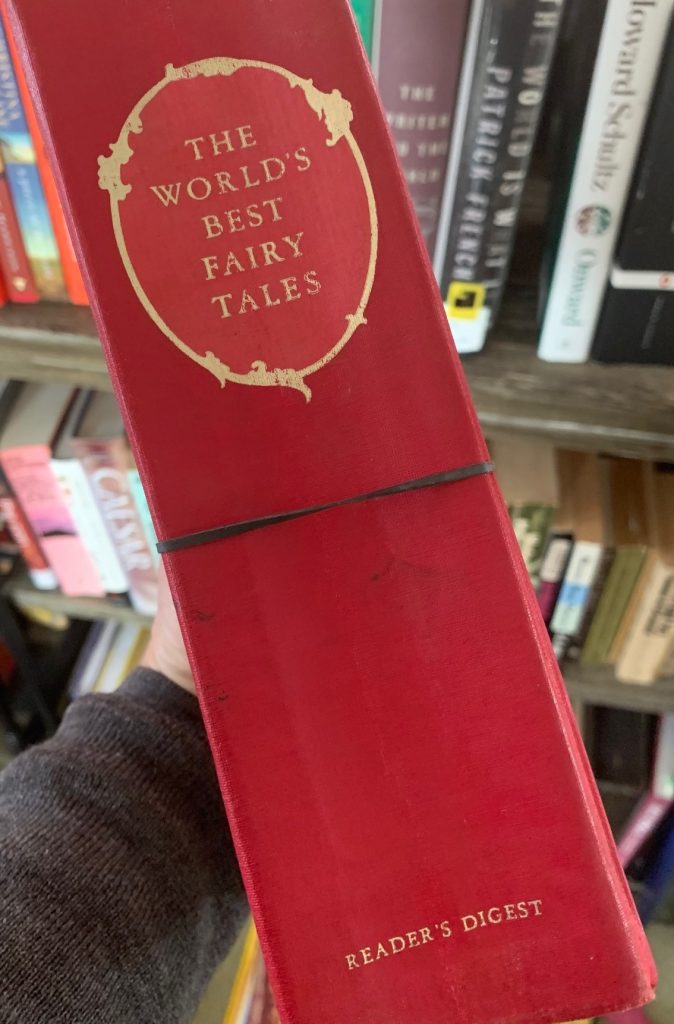
It broke. But I’m fixing it :)

Okay, so I don’t often do product endorsements on this blog.

But I love books.

I own old books.

Old books break.

Like this book. It’s The World’s Best Fairy Tales, a Reader’s Digest book my grandparents gave me in 1968. And OMG how I loved this book! I must have read every story in it a million times. (I also used to make Grandma read to me out of it — makes me laugh now thinking of it — I wonder if she ever regretted gifting it, maybe? A teensy bit? Because of course I used to request the longest story in the book, Sinbad the Sailor. I think it’s 50 or 75 pages :D)
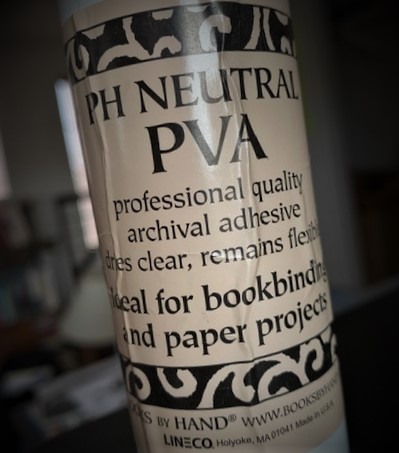
adhesive for fixing broken books
PH Neutral PVA. I’ve used it to fix broken books a bunch of times, now, and it works like a charm!

Anyway, today I pulled the book out and GAH.

The original glue had become completely dry and brittle. I no sooner touched the thing and chunks of pages started to fall out.

Fortunately, I have a fix. This stuff –>

Its an adhesive that is flexible when it dries. So when you open the book the spine can flex like it’s supposed to.

How to fix a broken book in 6 easy steps
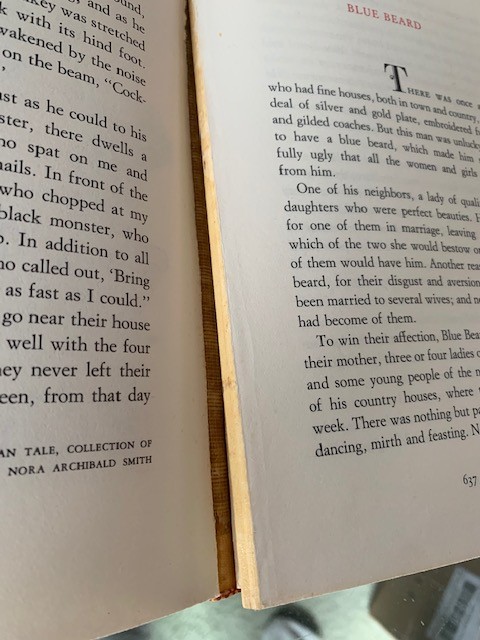
fixing a broken book oh noes the glue dried up and the pages are falling out
I love old books, but when the glue dries, this happens :(

Step 1, open the book to the spot where the pages are starting to fall out.

I try to be super careful while I’m doing this so that I don’t break the book even more. Because the last thing I want to have to do is glue the pages back in one at a time =o

But usually what happens is what you see here: chunks of pages falling out …
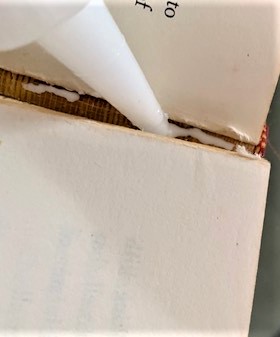
fixing a broken book run a bead of the adhesive down the inside of the spine
Run a little bead of PH Neutral PVA down the inside of the spine. Not too much! Let’s not get sloppy here…

Step 2: Run a little bead of the adhesive down the inside of the spine.

I try to be careful here, too. I figure, too much adhesive and it might leak into the pages.

The trick is to move the tip of the bottle kind of swiftly and smoothly so that the bed is thin and light.

First time? Practice first! Lay a bead down on a piece of paper, before you start on the book, so that you get a feel for how fast you should go to keep the line of adhesive thin & light.
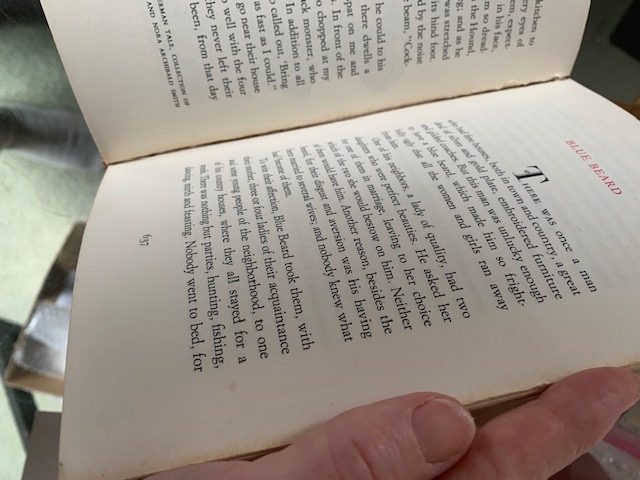
fixing a broken book press the pages into place
After you’ve laid down the adhesive, push the pages back into place, flush against the inside of the spine.

Step 3: Press the pages back into place.

So far, every time I’ve done this, I’ve been dealing with chunks of pages. So it’s kind of easy to just press and tap the pages as a chunk.
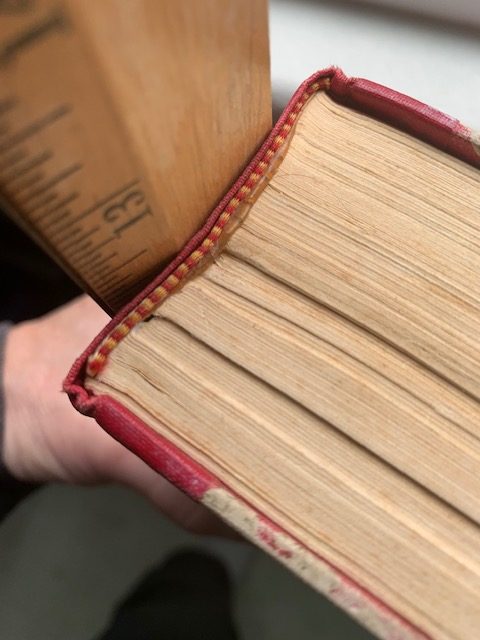
fixing a broken book make sure the pages are pressed flush against the spine
Make sure the pages you’re gluing are flush against the inside of the spine.

Step 4: Check to make sure the pages are nice and flush. You want to make sure that the adhesive is adhering to both the spine and the pages :)
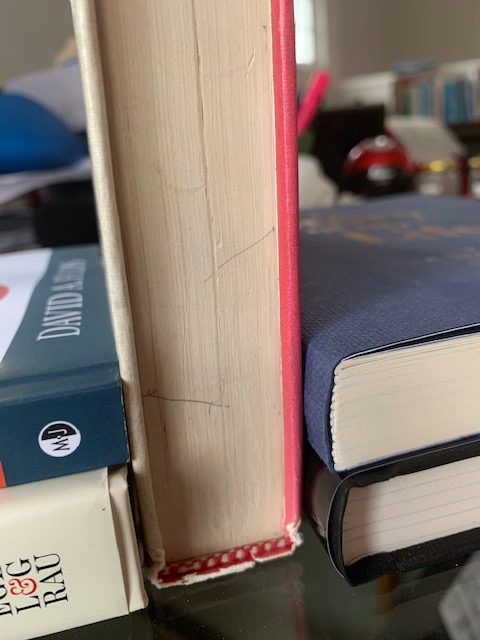
fixing a broken book keep the pages pressed against the spine until the adhesive dries one option
One option is to prop the book on its back, like this, until the adhesive dries.

Step 5: Rig something to keep the pages flush against the spine while the adhesive dries.

For some of the books I’ve fixed this way, I’ve just set the book on a table, spine down (propped by other books to keep it from tipping over while the adhesive dries). When I fixed my old Roget’s Thesaurus, that’s what I did. The weight of the book was enough to keep the pages pressed against the spin until the glue was dry.
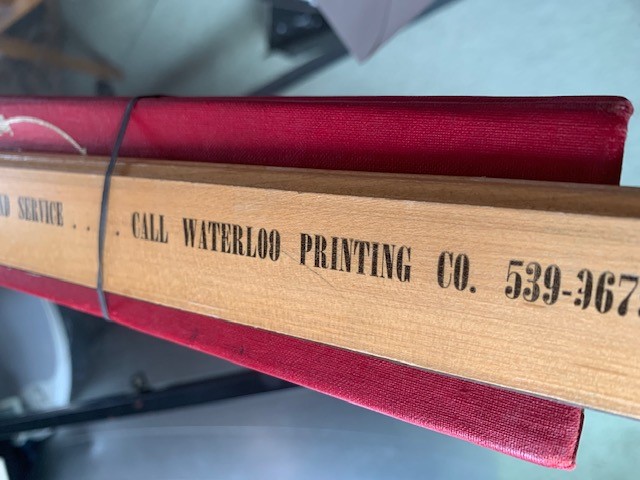
fixing a broken book keep the pages pressed against the spine until the adhesive dries
Yes, the ruler is probably about as old as the book … also remember when people didn’t need to use area codes because why would you ever want to call someone out of town, plus long distance was expensive?

But for my Fairy Tale book, I got a little creative. It’s a thick book — 2 and 1/2 inches! — so the spine tends to curve inward slightly.

So I used a rubber band to strap a wooden ruler against the spine.
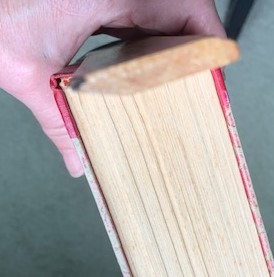
fixing a broken book keep the pages pressed against the spine until the adhesive dries2
The ruler just happened to be the right shape for the job :)

It just happened that one side of my ruler is kind of convex, so it worked perfectly. It snugged right up against the spine.

Step 6. Wait for a day or so until the adhesive dries. And that’s it!

Would I try this on a valuable book? Probably not. I’d probably take that sort of book to a professional to be restored. (And yeah, I see that in some cases people are asking for a lot of money for World’s Best Fairy Tales. But you can also find copies for cheap. So yes, I recommend you pick up a copy if you’re a fan, but maybe don’t spend $80 for it.)

But for old books that I just want to be able to handle again, this stuff is fabulous. I’ve fixed the dictionary I’ve had since I was a kid, I’ve fixed this old Roget’s thesaurus that I absolutely adore (sooo much better than online thesauruses. Really.)

And now I’m fixing my beloved Fairy Tale collection :)

Have you ever tried to glue a broken book?

Did it work?

Did you use PVA?

Drop me a note or leave a comment!

P.S. this post includes affiliate links. If you click and buy I get a few pennies — no extra cost to you. But I promise you, you will be soooo glad you have a bottle of this stuff on hand. Thank you!

What I did last weekend

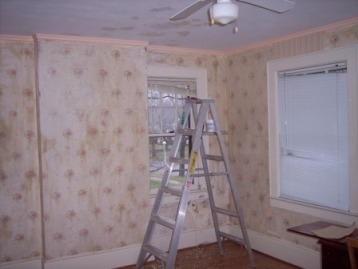
I’m planning a trip in February, and since I’m having a house sitter stay at my place to watch my critters while I’m gone, I decided it was time to fix up the guest bedroom.

Here’s what it looked like on Friday. I’d already pulled down the most recent layer of wallpaper — you can see one piece yet, above the window on the right. The stripes.

room before

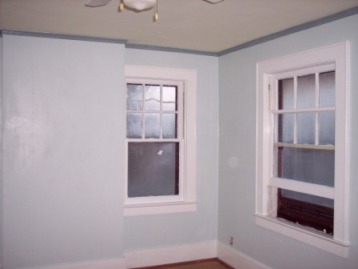
Here”s the room now.

room after

The photo doesn’t do the ceiling justice. The color I chose for it is Benjamin Moore Seahorse 2028-70, a very pale green with a hint of yellow. For some reason the photo makes it look muddy; in person it’s very fresh & light. (The swatch on the website doesn’t look anything like the color either, at least on my monitor.)

The walls are Ocean Air 2123-50, the window trim and baseboards are done with Ice Mist 2123-70, and the molding at the ceiling is Sea Star 2123-30. They’re all in the same family — swatches here.

I picked the ceiling color because I wanted something warm to offset the cooler colors I chose for the walls and trim. Now that it’s up, I love the effect — I’m crazy about it, as a matter of fact. Particularly against that dark trim — I’m crazy about it.

Next: the floors, which I’m outsourcing ;-)

Then accessories. As I was drifting off to sleep last night I suddenly pictured drapes in a broad, vertical black and white stripe. Hmmmm . . . may be going to much toward Deco tho, we’ll see . . .

For beds, I have a twin set of antique Art Nouveau frames with carved swan heads. I’m a little nervous on them — need to pull them into the color scheme somehow — they’re finished in a cream — and unfortunately when I reupholstered the headboards years ago I picked a dark pink fabric — didn’t like it much at the time, really don’t like it now. It has to go.

Once I have that, the bedding, the drapes, and a rug sorted out, though, I’ll post another pic.

As seen on T.V.

You know those “weekend makeover” type shows on cable, where a team comes in and redoes a room or two or three in just a couple of days?

And you know how about 1/3 of the way in, the designer opens up a can of paint and shows the homeowner and the camera catches the homeowner’s face as he/she recoils in horror, because the color is so much more intense than anyone in his right mind would choose?

Well I did the solitaire version this weekend :-)

It started yesterday morning. It was pouring down rain, so I decided maybe it was time to take down the broken-down shades from my bathroom window and sew up a set of curtains.

I grabbed my daughter and we drove out to JoAnn fabrics. The only requirement was that the fabric be multi-hued, with some greens in it, because my bathroom tub and the bottom half of the walls are vintage 50s green tile. I found just the thing in the remnants department: some gauzy tie-dyey stuff, marked down, two pieces, just the amount I needed.

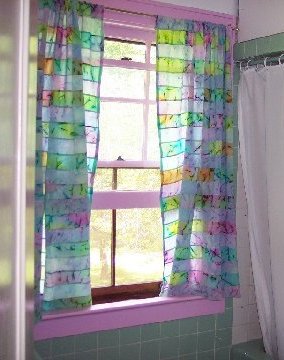
So I got home and held it up next to the window, and thought, “man, wouldn’t it be cool to paint the window frame to pick up one of the other colors in the curtains?”

Hmmmm.

Only one problem. Somebody, at some point, had installed a homemade valance above three of the bathroom walls. It hung down over the top of the window, so it would need to go if I was going to paint the frame . . . I poked around at it a bit, and it looked like it would be easy enough to pull down. I’d never liked it, any way.

I got out my tools and an hour or so later it was in pieces on the curb.

Of course, the valance was also wallpapered. As were all the bathroom’s non-tiled wall surfaces. But I’d never liked the wall paper, either, and it was dingy and curling at the edges . . . and besides, it was still raining outside . . .

Fifteen hours later, I’d de-wallpapered, prepped, primed, and painted the entire bathroom. And sewn a set of curtains.

My only crisis of confidence happened about 11:30 last night, when I’d put on the first coat of paint. The trim color I’d picked — in the spirit of adventurousness — is a deep lilac. Looking at it by incandescent light in the middle of the night, I had that “oh no, I can’t live with that color” feeling — Home Decorator’s Remorse.

But when I woke up this morning and looked at it again, I was absolutely rapturous.

Here’s a pic.

Bathroom dyi paint job with crazy colors

I am rapturous. And thinking, wow, you know what would look great with this? A yellow ceiling . . . and for the floor, maybe purple, or robin’s egg blue . . .

lol